
Recovery partition in windows 10 may be the most critical item to construct for any reason, including virus attacks, if your operating system crashes. You can restore your files and OS to normal with a recovery partition and carry out your everyday task since you left them.
Why create Windows 10 recovery partition?
Microsoft says users won’t have to produce a separate recovery partition in windows 10 anymore. It benefits most people and saves computer drive space. Users don’t worry about computer breaks. Once it’s done, “Reset PC” can be used to restore Windows 10.
It seems you don’t have to construct a Windows 10 recovery disc, however you’re extremely mislead. Windows 10 Reset just restores a factory set-up to your machine, it means that your Windows 10 system will be reinstalled, and all the computer applications you added will be lost. And most people will regret that they do not create a recovery partition in windows 10 in advance.
Below are certain common instances in which you must construct a recovery partition in windows 10:
- Delete the original recovery partition unlikely.
- You need to upgrade or reload the system.
- The recovery partition is not included in your machine.
Method1 : Create Recovery Partition In Windows 10 with built-in tool
Here you will use Recovery Disk option to create a recover partition in Windows 10 USB drive for recovery. A USB disc of at least 512MB is required. The drive should be at least 16GB if your machine is 64 bit. You will need a bigger USB disc for a recovery drive that includes system files.
Complete Guide To Create Recovery Partition In Windows 10
Note that during this process of creating recovery partition in windows 10, all USB drive data is lost, please back up USB flash files if there are crucial objects.
Step 1:
Connect your computer to the USB drive and make sure it can be detected.
Step 2:
Type “Recovery Drive” in the search box and choose “Create Recovery Drive” from the options listed.
Step 3:
Check the “Secure system files to a recovery drive” option in the pop-out window and click “Next.”
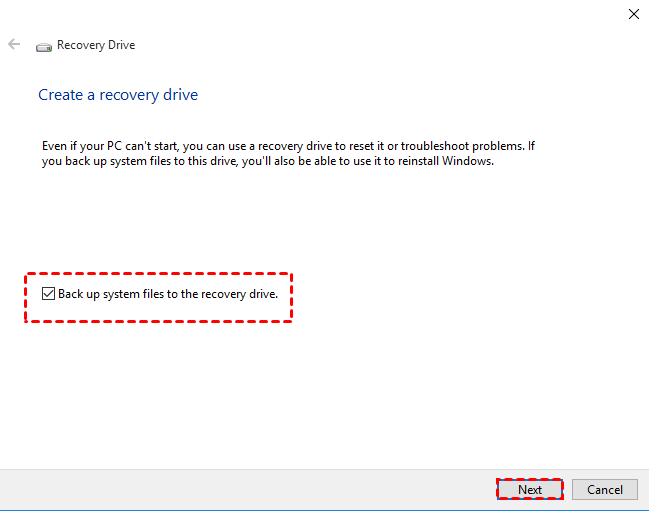
Remember
Note that the “Recovery Drive System Files Backup” option is quite useful, particularly when you cannot fix your computer. It gives you an opportunity to reinstall your computer by reinstalling this PC.
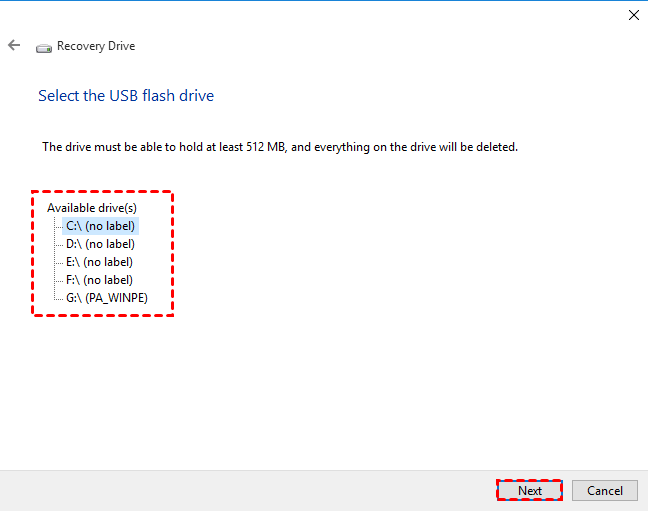
Step 4:
Then choose the linked USB flash drive and click Next.
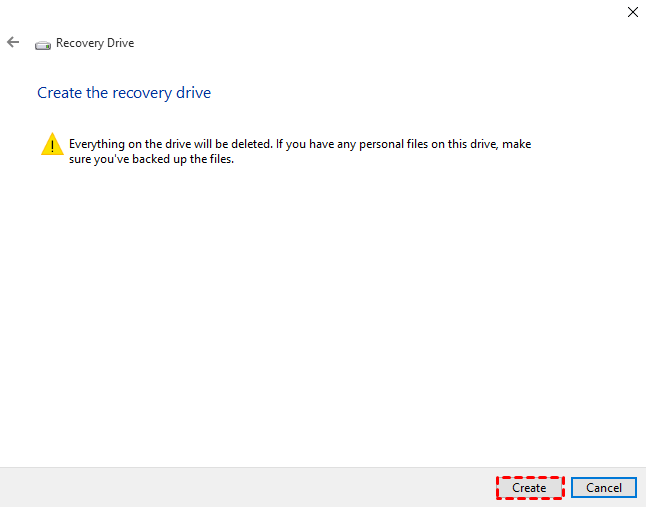
Step 5:
To start the recovery disc, click “Create.”
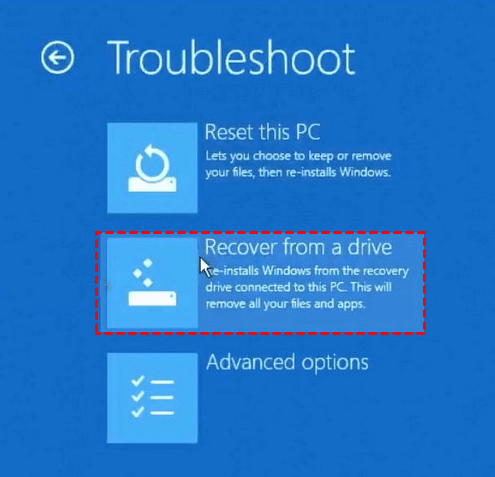
When the creation process is complete, you may easily and rapidly restore the system using the “Recover from a drive” option. Below is the outline:
Windows 10 Boot
- Boot from Windows 10 USB disc recovery. Then, till you see Troubleshoot option, click Next.
- Select Troubleshoot > Recover from a disc, and then the recovery process is set to start.
- The request for reset option, only delete my files or Clean the drive in full.
Confirm all the settings and click Recover to start the process. It takes a long depending on your hard disc size and will restart your PC.
Read Also: Disk Partition Management Software
Method 2: Create Recovery Partition In Windows 10 with AOMEI OneKey Recovery Way2:
Here you use OneKey System Backup on AOMEI OneKey Recovery for a Windows 10/8/7/XP/Vista retrieval partition (both 32bit & 64bit) and system backup, so your computer will be exactly the same as before after you clone, including the operating system, installed programme, system drivers, personal data, etc. And it is suited with all computer brands like HP, Dell, ASUS, Lenovo and so on.
By utilising it, you can choose the AOMEI OneKey Recovery partition or other location backup system. If you select the first option, the partition will be immediately created on your computer and the backup and recover partition will be saved, but drive letter is not specified. This significantly decreases the danger of error deleting the backup and recovery partition.
In addition, you can build a boot menu on your computer and specify a key, such as A or F11, to access it. Thus, when something goes wrong, you may easily and quickly reset the desktop or laptop computer (e.g. Lenovo desktop factory reset) and don’t have to generate a USB that can boot individually.
Download it to try to safely construct a retrieval partition and add it all to your PC.
Step 1:
Select Onekey System Backup.

Step 2:
Select “OneKey Recovery Partition Backup System (recommended)” and click Next.
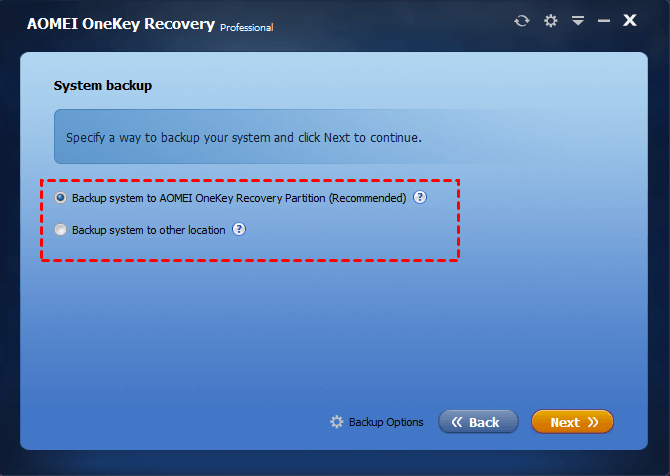
Note: If your computer doesn’t have sufficient space to hold everything on the system partition, you can choose ‘safe system somewhere.’ It can successfully avoid low disc space.
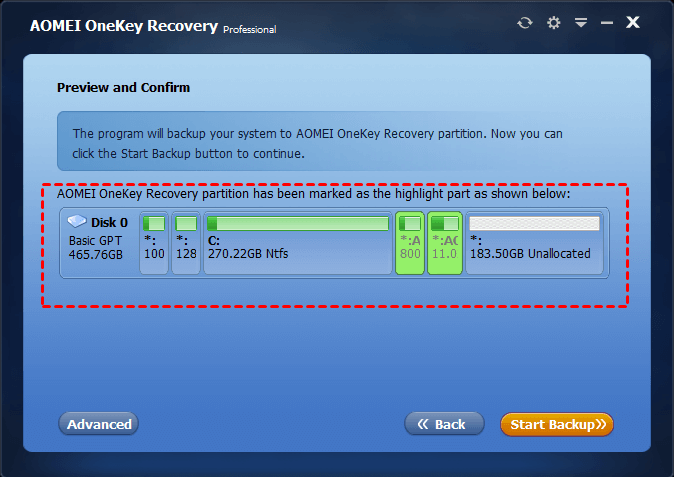
Step 3:
After verifying, click on “Advanced” to preview the arrangement of partitions and “Start Backup.”
Recovery Process Of AOMEI
AOMEI OneKey Recovery will spare some free space and establish a recovery partition from the destination.
If an unallocated area is available, AOMEI OneKey Recovery saves an image by default. Wait for the creation procedure to end, both system backup and recovery partition will be available. And in the event of a disaster, you can utilise it to recover your computer. the overview of the recovery process is given below:
- Restart this software, select “OneKey System Recovery.” If you can’t boot your computer, you can hit f11 or A to access and restore the system.
- Select “Restore system using AOMEI OneKey Recovery Partition image file” and click Next.
- After verifying, click Start Restore.
Method3: Create Recovery Partition In Windows 10 with Use O&O Discimage.
O&O Diskimage is an easy-to-use interface software. Here are the methods to make a retrieval partition on your computer.
Step 1:
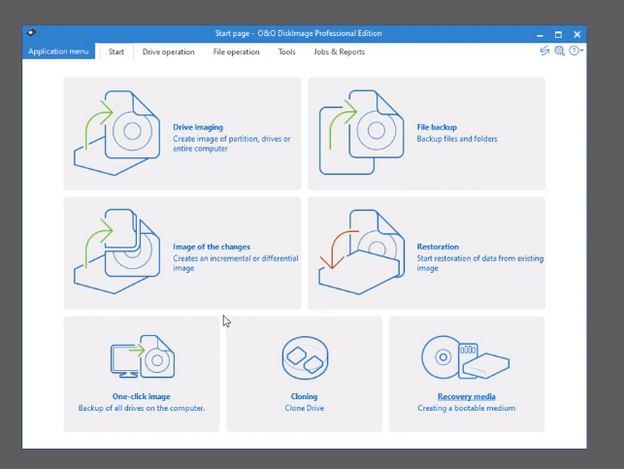
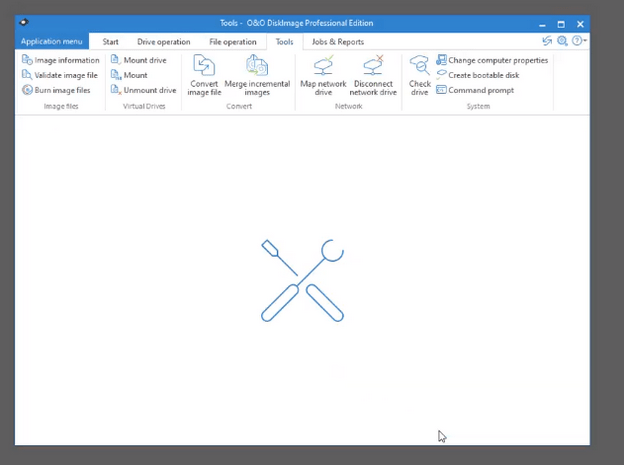
Download and start software of O&O Disk Image and select Recovery Media from the welcome screen
Step 2:
The next step consists of choosing to create a new division or to use an existing one.
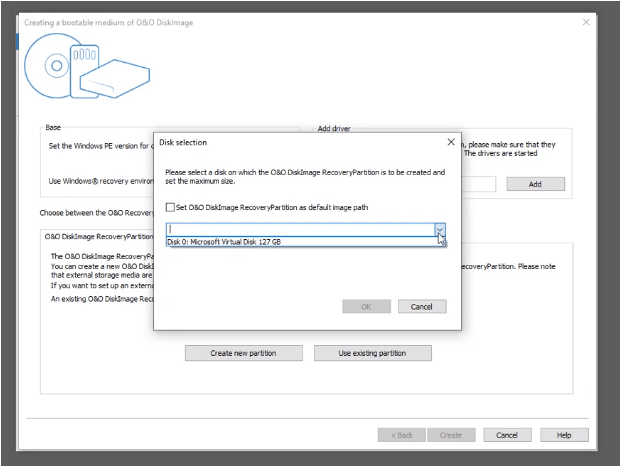
Step 3:
Click on New Partition Creates and select the drive where you want to generate your disc image.
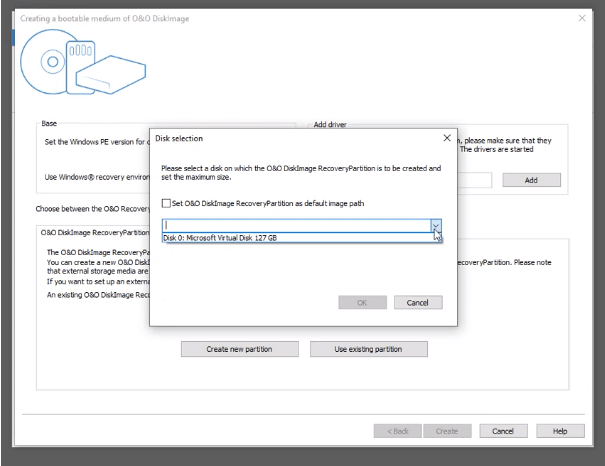
Step 4:
Wait for the completion of the process. It takes time depending on the amount and number of files you have on your hard drive.

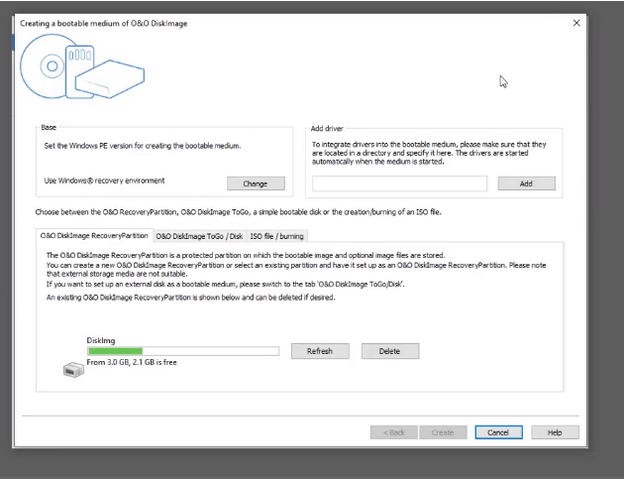
Step 5:
You may check your partition using the Create a Bootable Disk option in the top menu once the process is over.
Step 6:
You can remove the generated partition anytime and create a fresh disc image with the aforementioned instructions.
Concluding Remarks On Create a Recovery Partition In Windows 10
It is vital to establish a Windows 10 recovery partition that can enable you to remedy accidents on your computer. You can use the incorporated recovery drive feature or turn to a third party programme, such as AOMEI OneKey Recovery. In addition, you can utilise Reset this PC on Windows 10 if you click “Reset system files to a recovery drive.”
I prefer utilising AOMEI OneKey Recovery in contrast. It’s straightforward, safe and versatile. You can simultaneously generate a recovery partition and a system image in 3 steps and hide them both.
And on your computer you can also add a boot menu. More surprisingly, the recovery partition produce universal and may also use in any computer brand. Despite the regardless of your operating system, Windows 10/8/7/XP/Vista (both 32 and 64bit).
Some Common Questions For Users
Q1: Can you create a Windows 10 recovery partition?
You can create a recovery partition on your PC or any external drive using O&O DiskImage on your current hard disc. This retrieval partition helps boot your system in system crashes.
Q2: What happens when I restore a custom partition for recovery?
If you have generated a custom recovery partition with O&O DiskImage and cannot boot your system normally, your system will boot into O & O DiskImage Environment. Choose the latest reliable backup image and your system will usually boot to complete your job.
Q3: Where can I add a new Windows 10 partition?
The new partition is add to your existing PC-installed hard disc. The new partition may also create on another external media like a CD or a USB. But our recommendation for you to build the recovery process on the same hard disc faster and smoother.


